WordPress post : http://junn.net/archives/601
Reference #1 : https://steemit.com/tutorial/@krnel/tutorial-how-to-add-steemit-login-to-your-site-with-steemconnect
Reference #2 : https://github.com/busyorg/steemconnect
Source :
https://github.com/junn279/steemjs_example/blob/master/steem04.php
https://github.com/junn279/steemjs_example/blob/master/steem04_sub.php
Obviously, it has been already posted in Ref#1 how to use steemconnect for login from my site. But I think there are something to summarize when I was tested.
이미 훌륭한 예제가 첫번째 레퍼런스 사이트에 들어가면 볼 수 있고, (사실 다 써있다) 다만 뭔가 정리가 조금 더 필요한 듯해서 포스팅하기로 생각했다.
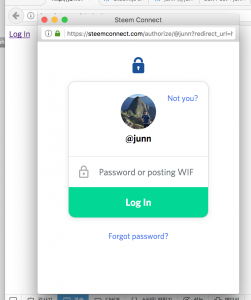
외부로그인을 위해 Steemconnect 라는 라이브러리(또는 사이트)를 이용할 것이다. 로그인 창은 다음과 같이 나오는데데, 비밀번호는 posting key를 이용할 수 있다. posting key를 얻는 방법은 이전 예제에 서술했었지만, 간단하게는 Wallet의 Permission에 들어가서 posting 의 show private key를 눌러서 구할 수 있다.
For outside login, we can use Steemconnect library (or site). Login window is as below, we can use posting key as password. Easily, we can get posting key in Wallet of Steemit.com, and click Permissions and click Show Private Key Button.
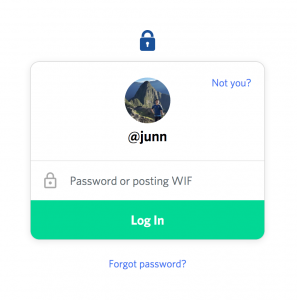

Posting Key를 이용해서 로그인이 가능하다.
Now we setup the App,
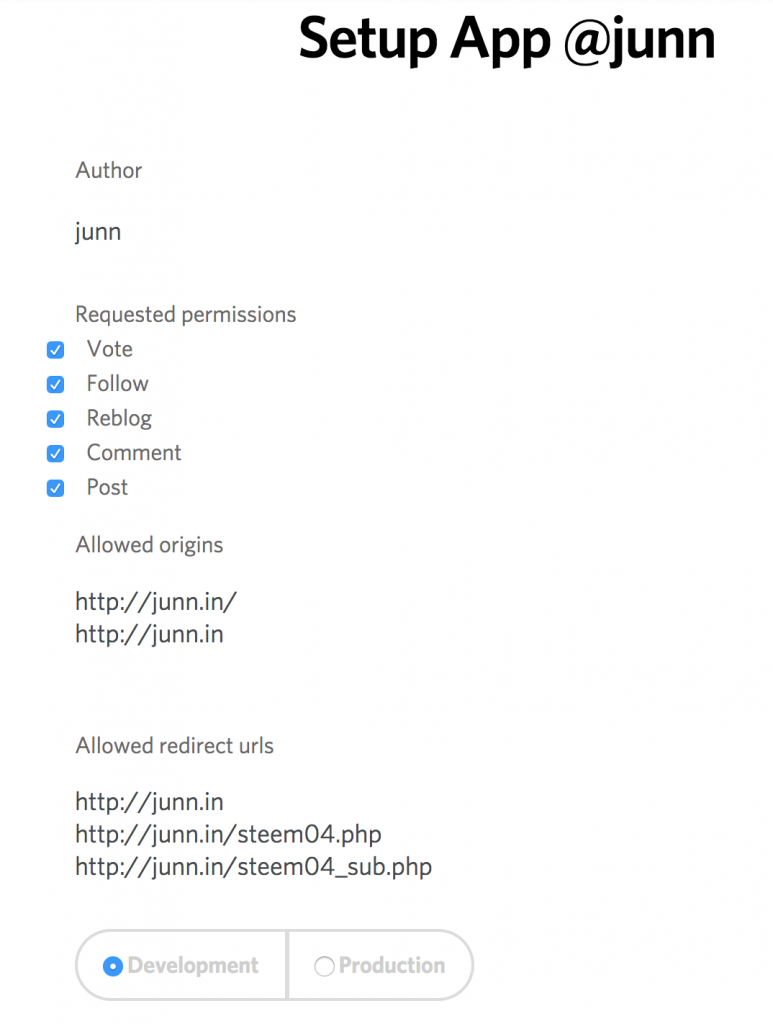 앱을 세팅하게되는데, 여기서 조금 애매한? 부분이, 일단 내 아이디가 곧 App ID가 된다. 만약 ‘서비스하는 앱’의 이름이 내 아이디가 아니길 원한다면 https://steemit.com/news/@timcliff/new-tool-from-busy-org-create-new-steem-blockchain-accounts-with-steemconnect 를 참조하거나, 영어가 어렵게 느껴지시는 분은 내가 쓴 메뉴얼 https://steemit.com/kr/@junn/391 의 4번 파트를 참조하여, App 전용 ID를 따로 만들면 좋을 것 같다.
App ID is same as my steemit ID. So if you want to use another ID for your App, it will be good to create new ID via steemconnect (example : https://steemit.com/news/@timcliff/new-tool-from-busy-org-create-new-steem-blockchain-accounts-with-steemconnect)
(1) Author
솔직히 잘 모르겠다, 내 ID와 다른 문구를 넣어봤는데, 진행상에는 문제가 없다.
I don’t know how ‘Author’ plays a role. I put text other than my ID(junn), there is no problem.
(2) Request Permission
App을 통해 로그인 하는 사람들에게 요청하는 권한이다. 즉 Post에 체크를 해놔야, 추후 로그인한 사용자가 App을 통해 Steem으로 포스팅이 가능하다는 의미일 것으로 판단된다.
Literally, request permission when users log in through this app. If you check ‘Post’, then user could ‘post’ their posting through your app.
(3) Allowed origin
로그인이 요청되는 도메인이다. 예를 들면 로그인 요청페이지가 http://junn.net/steem04.php 라면, junn.net 도메인이 allowed origin으로 등록이 되어야 한다.
You put origin domain in which request login. If you call login part from ‘http://junn.net/steem04.php’, ‘junn.net’ must be listed.
(4) Allowed redirect urls
로그인 후에 redirection되는 주소이다. 자바스크립트 상에서 설정하게 되는데, 그 주소가 정확히 이 url 리스트에 있어야 한다. http://junn.net/steem04.php에서 로그인을 요청했고, 성공시 http://junn.net/steem04_sub.php 이라는 곳으로 이동한다면, http://junn.net/steem04_sub.php 이 저 리스트 안에 있어야 한다.
Redirection address will be set in javascript page, the exact address must be listed. If you want redirect to ‘http://junn.net/steem04_sub.php’ after login, ‘http://junn.net/steem04_sub.php’ should be listed.
이로써 앱 세팅은 종료.
https://pastebin.com/xJAs1tbc 가 기작성된 예제이다 (내가 만든 것이 아님). 그래서 좀 다른 방식으로, 다른 OAuth 앱 처럼 새창을 띄워서 로그인을 시도하는 소스를 제작했다.
https://pastebin.com/xJAs1tbc is an example that has already been made. But I approached in different way, in which open new window and try to login.
Test :
Source:
https://github.com/junn279/steemjs_example/blob/master/steem04.php
https://github.com/junn279/steemjs_example/blob/master/steem04_sub.php
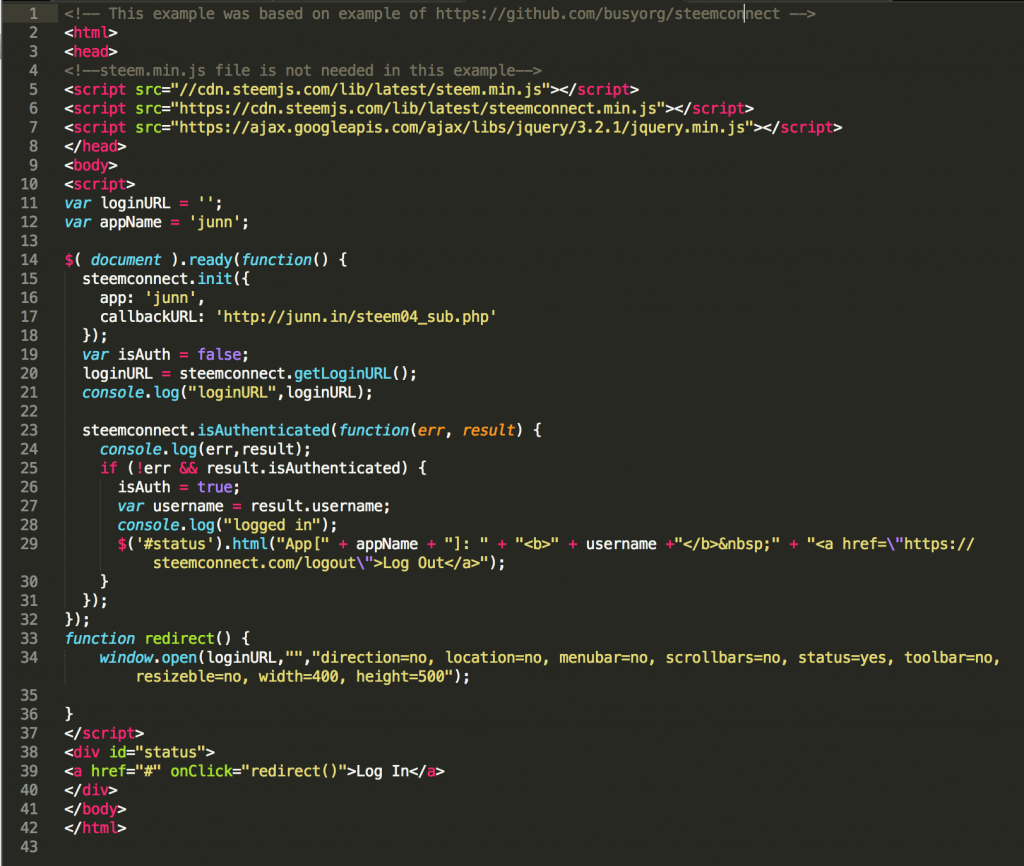
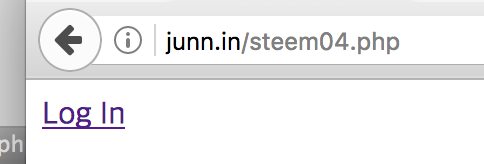
39줄의 로그인을 누르면 33줄의 redirect function이 실행되면서 새창이 열린다.
Click login (39th line), redirect function runs.(33th)
이 새 창에는 20줄에서 가져온 loginURL이 열리는데, 이 login URL은 15줄의 initialize 함수를 통해 불러오게 된다. 이 함수를 세팅하는 16,17줄의 내용은 위에 설정한 App의 정보와 동일해야한다. 23-31줄은 로그인이 성공한 경우에 실행되는 함수이다.
New window load login page (loginURL;20th line), this url is loaded through initialize function(15th line). Initial variables are in 16th,17th line, must match to the information of the App which we’ve set above. 23-31st line will be executed when login is successful.
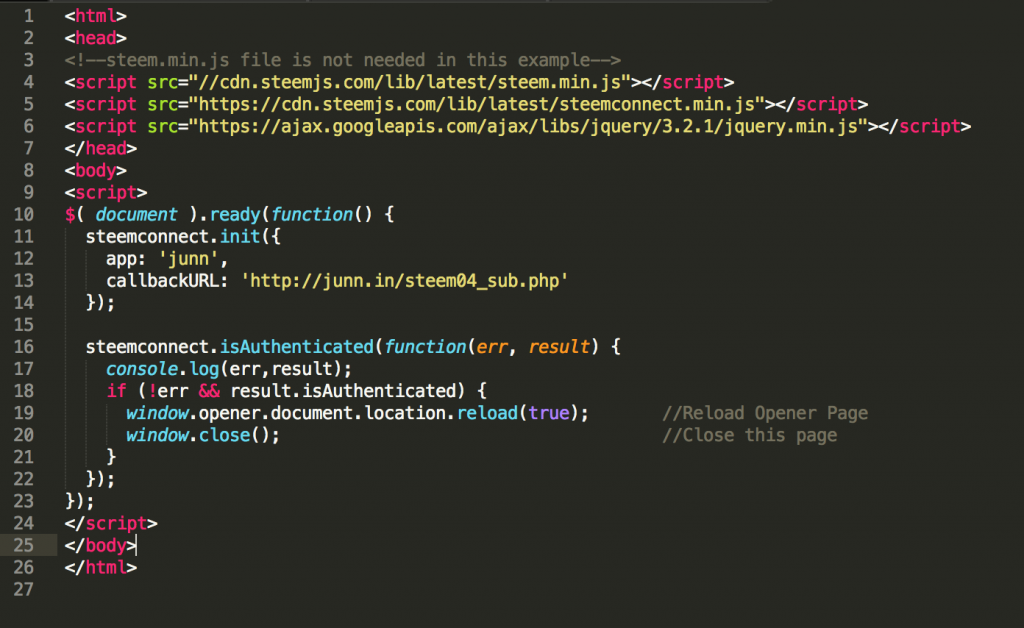
아래 있는 steem04_sub.php에서는 로그인창이 열린되에 콜백되는 주소인데,(즉 로그인이 성공하면 바뀌는) 따라서 로그인이 된 이후 16-21줄이 실행되며, 이 새로 뜬 창은 닫히고, 이 창을 연(steem04.php)를 reload 함으로서 steem04.php의 23-31 줄이 실행되게 되는 것이다.
steem04_sub.php is redirect page which is loaded after successful login, 16th-21st line is run after login. So this page will be closed, refresh opener page(steem04.php). And then we can run 23rd-31st line of steem04.php.
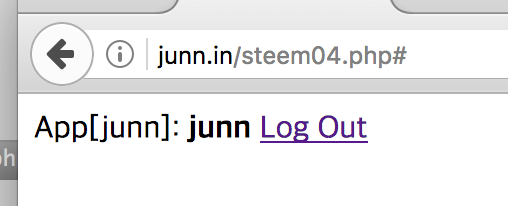
로그인이 완료되면 아래와 같이 바뀌면서
After login, we can see as below,
콘솔에는 다음과 같이 뜬다.
We can get the information of user from console.

이 다음엔 아마 userId 및 token을 이용해서 Post, vote, follow 등을 하는 과정일 것이다.
May next work is Posting, voting, following using this userID and token.
